Introduction
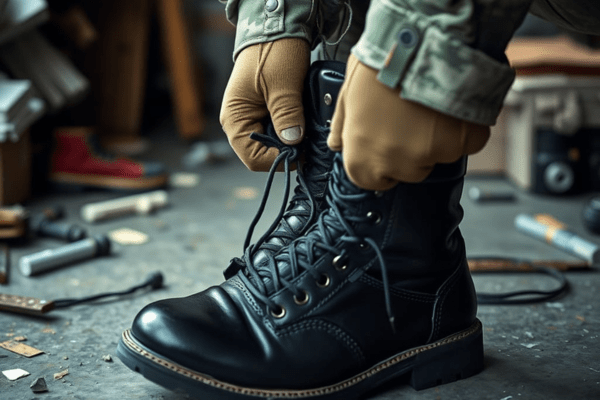
Jump boots are high-ankle leather boots originally designed for paratroopers and military use. Today, they’re also popular with hikers, outdoor workers, and style-conscious individuals who appreciate their rugged look and solid support.
But to get the best out of these boots, how you lace them matters. Correct lacing boosts comfort, reduces foot strain, and helps your boots last longer.
Whether you’re marching, working, or wearing them casually, this informative jump boots lacing guide will help you learn how to lace jump boots the right way—for both function and fashion.
Why Proper Lacing Matters for Jump Boots
Lacing your jump boots the right way isn’t just about looks—it’s about performance, protection, and comfort. Whether you’re on duty, hiking, or just wearing them casually, the way you lace your boots can make a big difference in how they feel and support your feet.
1. Lacing for Ankle Support
Proper lacing helps keep your ankles stable, especially during fast movement or on uneven terrain. If your laces are too loose or uneven, your ankles may twist or feel weak. Using strong lacing techniques like straight bar or ladder lacing can provide the ankle support needed for demanding activities.
2. Lacing Boots for Long Marches
Wearing jump boots for long hours or during long-distance walking puts pressure on your feet. Without the right lacing, you may feel tight spots, discomfort, or even get blisters. Choosing the correct method of lacing boots for long marches can reduce fatigue and help distribute pressure evenly across your foot.
3. How Boot Lacing Affects Comfort
Comfort starts with how your boots fit—and that depends a lot on your lacing. When laces are too tight, your feet can go numb. Too loose, and your boots won’t feel secure. That’s why knowing how boot lacing affects comfort is key. Smart lacing lets you adjust tightness where needed, giving you a better fit that lasts all day.
5 Best Ways to Lace Jump Boots (Step-by-Step)
Jump boots are made for durability, ankle support, and a sharp look. But to get the best out of them, you need the right lacing method. Whether you’re in the military or just love the rugged style, here’s how to lace jump boots using five of the best and most effective methods.
1. Straight Bar Lacing for Jump Boots
For a sharp and polished appearance, straight bar lacing is an ideal option for jump boots. It’s a favorite in military and dress settings because of its neat, uniform appearance.
Why Choose This Style:
- Best for formal/military occasions
- Provides an even, tight fit
- Easy to adjust once set
Step-by-Step:
- Start at the bottom eyelets and thread the lace straight across.
- Thread each lace vertically from the inside and pull it out through the next pair of eyelets.
- Repeat across each side, forming straight bars all the way up.
This method is both functional and stylish, making it ideal when you need a polished finish.
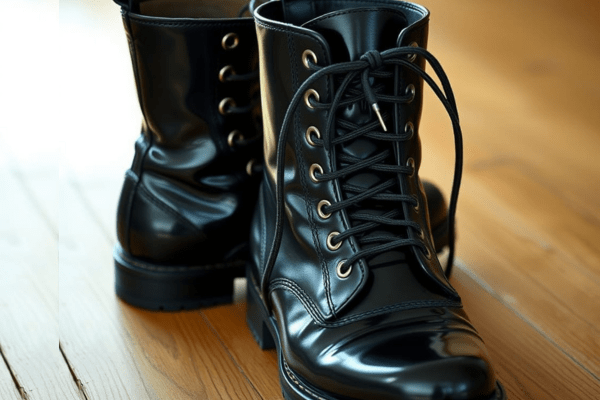
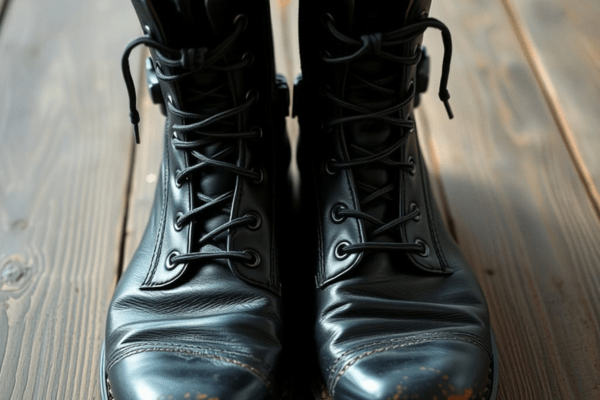
2. Criss-Cross Lacing Technique
The criss-cross lacing technique is the most common and versatile way to lace jump boots. It’s simple, quick, and works for everyday or field use.
Why Choose This Style:
- Evenly distributes pressure across the foot
- Easy to tighten and loosen
- Works for any boot height
Step-by-Step:
- Begin from the lowest eyelets, threading the laces across one another in an X pattern.
- Feed them through the next eyelets from underneath.
- Continue crossing all the way up.
When learning how to lace jump boots, this is the best method to start with for comfort and ease.
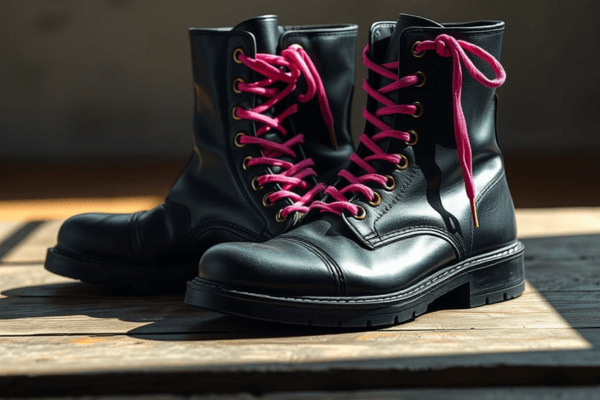
3. Zipper Lacing Pattern
Looking to make your boots stand out? The zipper lacing pattern is both decorative and secure, giving your jump boots a unique visual edge.
Why Choose This Style:
- Stylish and eye-catching
- Laces stay snug and don’t loosen easily.
- Adds a modern twist to classic boots
Step-by-Step:
- Lace diagonally for a zig-zag design.
- Thread the laces along the sides in a pattern that resembles a zipper closure.
- Adjust as needed to get an even look.
Ideal for casual or fashion-forward use, this method makes your boots look different while keeping them functional.
4. Over Under Lacing
Want all-day comfort? Try over-under lacing. This method reduces pressure and lace friction, perfect for long wear.
Why Choose This Style:
- Reduces tight spots
- Keeps laces from loosening
- Comfortable for extended use
Step-by-Step:
- Start with the first crossover over the eyelets.
- Then go under on the next set and alternate over/under each row.
- Pull laces tight after every few rows.
This technique is ideal for those who wear their boots for hours on end. A must-know when exploring how to lace jump boots for maximum comfort.
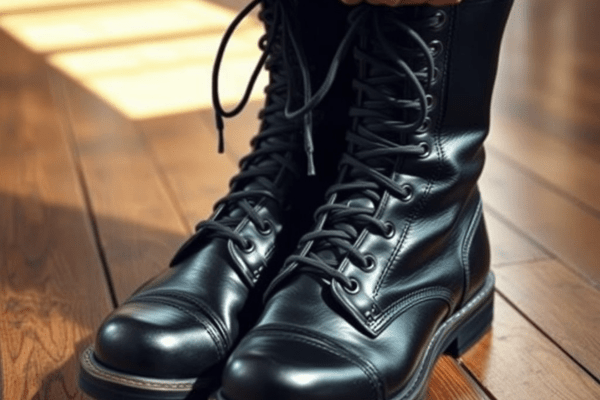
6. Ladder Lacing for Jump Boots
Ladder lacing for jump boots is a popular choice in military environments. It offers high ankle stability and a secure, tight fit that won’t loosen during intense activity.
Why Choose This Style:
- Military-grade ankle support
- Very secure, won’t slip
- Bold, structured appearance
Step-by-Step:
- Run the lace straight across the bottom eyelets.
- Bring both ends straight up and feed them under the vertical bar on the opposite side.
- Repeat up the boot, forming “ladder” steps.
This lacing method is highly recommended for field use or situations where ankle protection is crucial. When learning how to lace jump boots, ladder lacing should always be on your list.
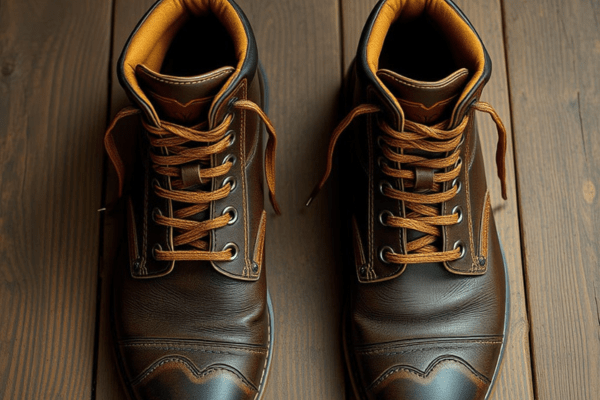
Choosing the Right Laces for Jump Boots
Picking the right laces for your jump boots can make a big difference in both style and comfort. Whether you’re lacing for performance or looks, the type and length of your laces matter.
1. Types of Boot Laces: Flat vs. Round, Waxed vs. Unwaxed
- Flat laces have a broader shape that provides a strong and stable grip. They’re a great choice if you want stability and less slipping—perfect for tactical use or long wear.
- Round laces are easier to tighten and look more classic with military-style jump boots.
- Waxed laces provide water resistance and stay tied longer.
- Laces without wax feel softer and are easier to tighten or loosen, but they tend to come undone more frequently.
For the best laces for jump boots, choose ones that match your needs—whether it’s durability, style, or ease of tying.
2. Lace Length Recommendations Based on Eyelets
The number of eyelets on your jump boots affects what length lace you need:
- 6–7 eyelets: 45–54 inches
- 8–10 eyelets: 63–72 inches
- 10+ eyelets: 84 inches or more
Make sure to measure your boots or check the brand guide to get the ideal fit.
For durable boot laces, go for military-grade nylon or paracord laces. These are built to handle rough conditions and frequent use.
Want to try new styles? Explore different jump boot lacing methods to improve fit and prevent heel slipping. And if you’re after a fresh look, check out tips on how to style jump boots with laces—from clean military patterns to casual streetwear-inspired designs.
Bonus Tips for All-Day Comfort
Staying comfortable in your boots all day takes more than just putting them on and heading out. Use these extra tips to improve your boot fit, reduce pain, and stay focused on your task.
1. How to Avoid Pressure Points
Pressure points usually come from uneven lacing or poor boot fit. To avoid this:
- Make sure your ankle support boots are snug but not too tight.
- Use a lace-skip method (skip an eyelet) in areas where your foot feels pinched.
- Avoid overtightening one section—this is a common boot-lacing mistake to avoid.
2. Tightening Techniques for Long Marches
When walking long distances, your feet swell naturally. Start the day with a firm lace, especially around the ankles for support. Try this:
- Use the heel lock lacing technique to stop heel slipping.
- Focus on a performance boot fit—secure in the heel, relaxed in the toes.
- Adjust as needed to keep circulation healthy and prevent hot spots.
3. When to Re-Tie or Loosen Boots During the Day
Re-tie your boots if:
- You feel numbness, tingling, or discomfort.
- Your laces feel loose, especially after a few hours of walking.
- You stop for a break—this is the perfect time to recheck your fit and avoid long-term pressure.
Pro Tip: Don’t ignore small signs of discomfort. Small changes in lacing can greatly improve your comfort and how your feet feel throughout the day.
Conclusion
In the end, lacing your boots isn’t just about looks—it’s a smart mix of performance, comfort, and style. The way you lace your boots can affect everything from support during long marches to how confident you feel in your outfit.
Don’t be afraid to try different lacing methods. Whether you’re preparing for field duty, planning a long walk, or just going for a stylish upgrade, choose the technique that matches your need.
For best results, follow a trusted jump boots lacing guide and take time to learn how to lace jump boots the right way. Your feet will thank you.
Learn how to lace jump boots for better comfort, support, and style. Exploree pro tips, secure methods, and the right laces for every use-case.
For more guides and top-rated laces, visit BestShoeLaces.com
FAQs
Q1: What’s the best way to keep jump boots tightly laced?
For maximum hold and ankle stability, the ladder lacing method is considered the most reliable option. It keeps your boots tight and stable, especially around the ankles—perfect for tough tasks or long marches. If you’re learning how to lace jump boots for support and durability, this method is highly recommended.
Q2: Is ladder lacing better than criss-cross lacing?
Both have their uses. Ladder lacing offers a tighter, cleaner look—ideal for military inspections or when you need strong ankle support. Criss-cross lacing is faster and more flexible, good for casual wear or hiking. Your choice depends on the activity.
Q3: How tight should jump boots be?
Your boots need to fit firmly around the ankle but stay loose enough to keep blood flow normal and comfortable. A good rule: secure the heel, leave some wiggle room in the toes. A proper jump boots lacing guide will help you get that balance right.
Q4: Can I use paracord for jump boot laces?
Paracord is a tough and reliable lace choice, commonly favored by survivalists and military personnel. Be sure to pick the correct length and thickness for a proper fit. It’s strong and reliable—perfect for field duty.
Q5: What’s the best lacing method for military inspections?
Ladder lacing is the most recommended for inspections due to its clean and uniform appearance. It also ensures a performance boot fit and shows attention to detail, which matters in formal settings.