1. Introduction
Learning how to shorten elastic shoelaces can instantly improve the comfort and fit of your shoes. Elastic and no-tie laces are designed for convenience, but they sometimes end up too long, too loose, or messy-looking, especially after repeated use.
Loose elastic laces can cause your shoes to feel unstable, reduce support, and even create a tripping risk. The good news is that you don’t need professional tools or special skills to fix them.
With a few simple adjustments, you can easily shorten elastic laces at home and create a clean, secure, and customized fit. This guide explains practical step-by-step methods, along with expert tips to help you avoid common mistakes.
2. How to Shorten Elastic Shoe Laces
If your elastic laces feel too long or loose, you can fix them quickly using one of these simple DIY methods.
These techniques are beginner-friendly and work for running shoes, casual sneakers, and no-tie lace systems.
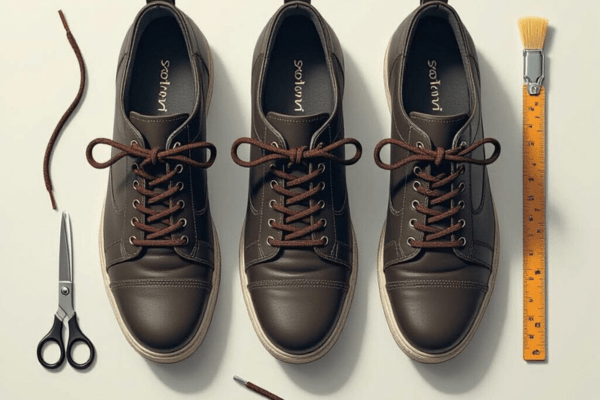
Method 1: Trim and Seal the Lace Ends
Best for: A permanent and tidy finish
Tools Needed
- Sharp scissors
- Lighter or heat source
- Heat-shrink tubing or replacement lace tips
Steps
- Put on your shoes and tighten the laces until the fit feels comfortable.
- Mark the spot where the laces provide the best support.
- Remove the shoes and carefully cut the extra lace length.
- Slide a heat-shrink tube over the end and apply gentle heat to seal it.
If you don’t have heat tubing, lightly melt the lace tip with a lighter to prevent fraying.
Pro Tip: Always cut slightly longer than necessary. You can trim again later if needed.
Method 2: Tie a Knot and Hide the Extra Lace
Best for: Temporary adjustments without cutting
If you are unsure about trimming your laces, this method allows you to shorten them without permanently altering them.
Steps
- Wear the shoe and tighten the elastic laces.
- Tie a small knot at the point where the fit feels right.
- Tuck the remaining lace under the shoe tongue or inside the insole.
This quick fix works well for kids’ shoes, casual footwear, or temporary adjustments.
Method 3: Use Lace Locks or Adjusters
Best for: Bungee or no-tie laces with tension systems
Many elastic lace brands include locking systems that allow quick adjustments.
Steps
- Put on your shoes and tighten the laces.
- Slide the lace lock to the position where the shoe feels snug.
- Lock it into place.
- Trim any remaining excess lace if necessary.
This option is especially useful for runners, athletes, and people who prefer slip-on convenience.
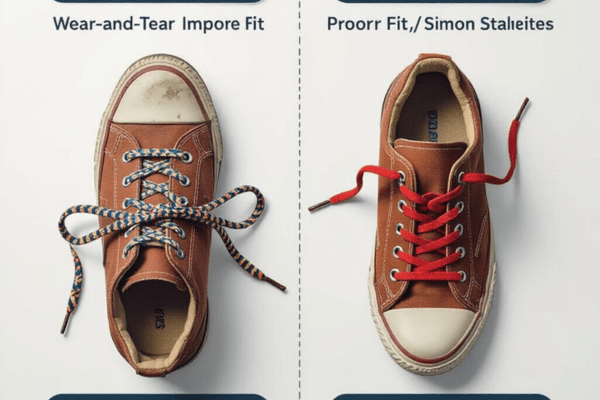
3. Why Elastic Laces Become Too Long or Loose
Before fixing the problem, it helps to understand why elastic shoelaces lose their ideal fit.
1. Natural Stretching
Elastic materials expand with repeated movement. Walking, running, and slipping shoes on and off gradually reduce the original tension.
Over time this can cause the following:
- Reduced support
- Loose shoe fit
- Extra lace length
2. Universal Lace Length
Many elastic lace kits are sold as one-size-fits-all, which often leaves extra lace after installation.
Because everyone has different
- Shoe sizes
- Foot shapes
- Tightness preferences
Manual adjustments are often necessary.
3. Incorrect Installation
Elastic laces sometimes feel loose simply because they weren’t tightened evenly during installation.
Uneven tension can cause:
- Slipping laces
- Uneven pressure on the foot
- A sloppy appearance
4. Different Shoe Types
Different footwear styles affect how elastic laces behave.
Running shoes: constant movement stretches them faster.
Casual sneakers require moderate tension.
Boots: need stronger support and tighter lacing
Adjustments may vary depending on the shoe type.
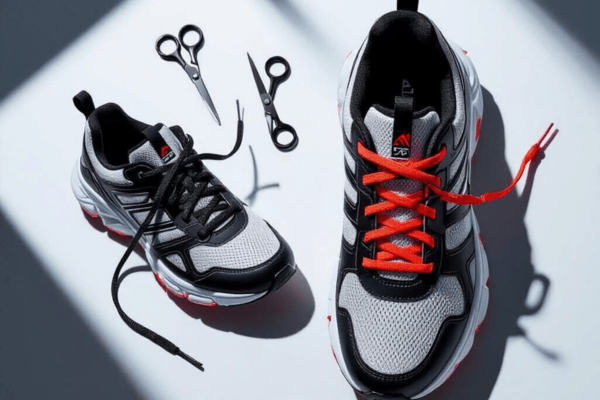
4. Fixing Bungee or No-Tie Laces That Are Too Long
Bungee or no-tie systems are designed for convenience, but they often leave extra lace length.
Here are simple ways to fix that.
Adjust the Lock System
Most no-tie laces include adjustable locks or anchors.
Simply:
- Pull the lace tighter.
- Slide the lock to the correct position.
- Secure it in place
This usually removes most of the slack.
Move the Anchor Position
Some lace systems allow anchors to be repositioned.
Moving the anchor one eyelet higher can shorten the lace and create a cleaner look.
Tuck the Extra Lace
If a small amount of lace remains:
- Loop the excess lace
- Hide it under the tongue
- Or tuck it inside the shoe
This keeps the laces from hanging loose.
5. How to Tighten Elastic Laces Without Cutting Them
If you want to avoid trimming your laces, several smart techniques can help improve the fit.
Try Different Lacing Patterns
Certain lacing styles naturally tighten elastic laces.
Examples include:
- Heel Lock (Runner’s Loop) for extra heel stability
- Straight bar lacing for even pressure
- Skip-eyelet lacing for better midfoot support
Re-Thread the Laces
Changing the threading pattern can reduce extra slack.
For example:
- Skip the first eyelet
- Relace diagonally across the shoe
- Pull tension evenly across the foot
This can significantly improve the fit.
Double Loop Technique
Thread the lace through the same eyelet twice before moving upward.
This creates extra friction and helps the lace stay tighter.
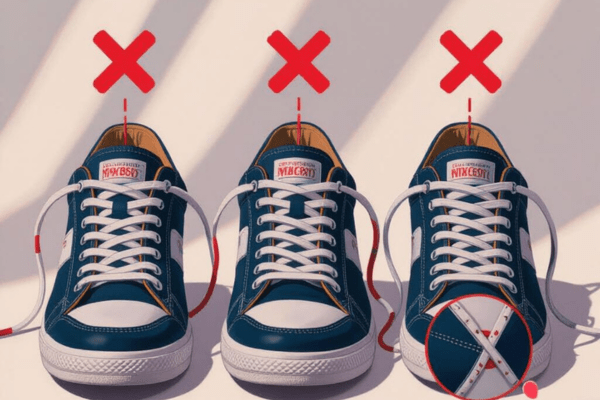
6. Common Mistakes to Avoid
When learning how to shorten elastic shoelaces, avoid these common errors.
Cutting Too Much
Many people cut the laces too short on the first attempt.
Always:
- Measure first
- Trim gradually
- Test the fit before sealing the ends
Not Sealing the Lace Ends
After cutting elastic laces, sealing the tips prevents fraying.
Use:
- Heat shrink tubing
- A quick flame seal
- Fabric glue if necessary
Making the Laces Too Tight
Elastic laces should feel secure but flexible.
Overtightening can cause the following:
Reduced circulation
Foot discomfort
Restricted movement
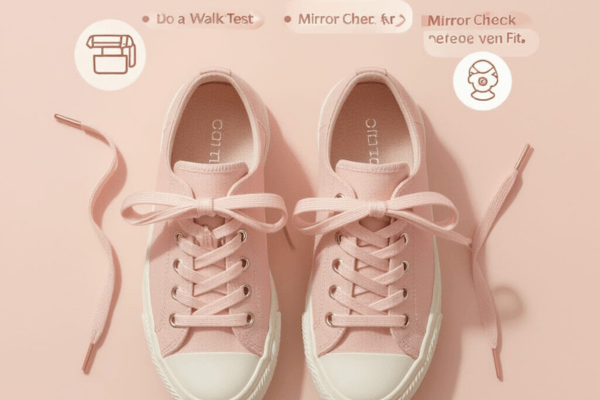
7. Final Tips for a Perfect Fit
Once you finish adjusting your elastic laces, perform these quick checks.
Test the Fit
Put on both shoes and make sure the tension feels balanced.
Your foot should feel secure but comfortable.
Walk Test
Walk or jog for a few steps to confirm that the fit stays consistent during movement.
If the shoe feels loose, tighten slightly.
Check for Even Tension
Look in a mirror or ask someone to check the laces.
Even tension across the eyelets ensures both comfort and appearance.
8. Conclusion
Knowing how to shorten elastic shoelaces can greatly improve the way your shoes feel and perform.
Whether you choose to trim the laces, tie a hidden knot, or adjust a lace lock, these simple techniques help create a cleaner look and a more secure fit.
With just a few minutes of adjustment, you can turn loose elastic laces into a comfortable, customized setup that works for everyday wear, sports, or casual use.
9: FAQs
Q1: Can I shorten elastic laces without cutting them?
Yes, you can loop the extra lace and tuck it inside the shoe or use a lace lock. These methods are reversible and safe for kids too. No tools are required, and they help keep your laces neat. Perfect if you don’t want to damage the original length.
Q2: What’s the best method for kids’ shoes?
Apply the tie-and-hide technique or add customizable lace fasteners. This allows room for foot growth without replacing laces. It’s safe, easy, and doesn’t require any cutting. Also great for school or sports shoes.
Q3: Will cutting the laces ruin the stretch?
Not if you cut carefully and reseal the ends with heat. Use a lighter and shrink tube or strong tape for best results. This keeps the elasticity intact and prevents fraying. Always measure before cutting to avoid mistakes.
Q4: Is it possible to use cut elastic laces on a different pair of shoes?
Yes, you can reuse them if the trimmed length matches the new shoe’s size and design. However, elastic laces may lose their stretch over time, so check their condition first. They work best with similar shoe styles and should be avoided if they are overly stretched or damaged.
Q5: How do I know if I tightened the laces too much?
If your feet feel numb or uncomfortable while walking, they’re too tight. There should be a secure hold but still room for natural flex. Try walking for a minute to test the fit. Adjust slightly until you find the perfect balance.